

Sidewalk Color Camp: Chalk Paint Fun! (No Mix, No Mess!)
Prep: 5 min | Soak: 12-24 hours | Paint: 30-45min
This craft is a happy accident—a failed attempt to make chalk paint. But I am so glad it flopped. Why? We discovered a simpler method that was so much FUN. Not only does this method save you from mixing up food dyes and cornstarch, it repurposes your chalk nubs from Day 1, Chalk Lettering. (And all of those nubs since May.) All you need is a tray and good ole tap water.
This activity is split into two parts: making the chalk paint, and discovering blend techniques.
Part 1: Make the “No-Mix” Chalk Paint
Originally, I soaked my chalk nubs in water, hoping they would magically dissolve into chalk paint. A girl can dream, right? 36 hours later, the chalk was still hard as a rock. I was about to trash them, when neighborhood kids knocked on our door, ready for a new art project. Um, well. You wanna play around with this slightly gross, wet tray of soaking chalk?
Supplies
Chalk nubs from Day 1: Geek Out on the Art of Lettering
Plastic fruit carton or muffin tin
Foam Brush Pack or kitchen sponges cut into wedges


Part 2: Geek Out on Painting Techniques via Chalk!
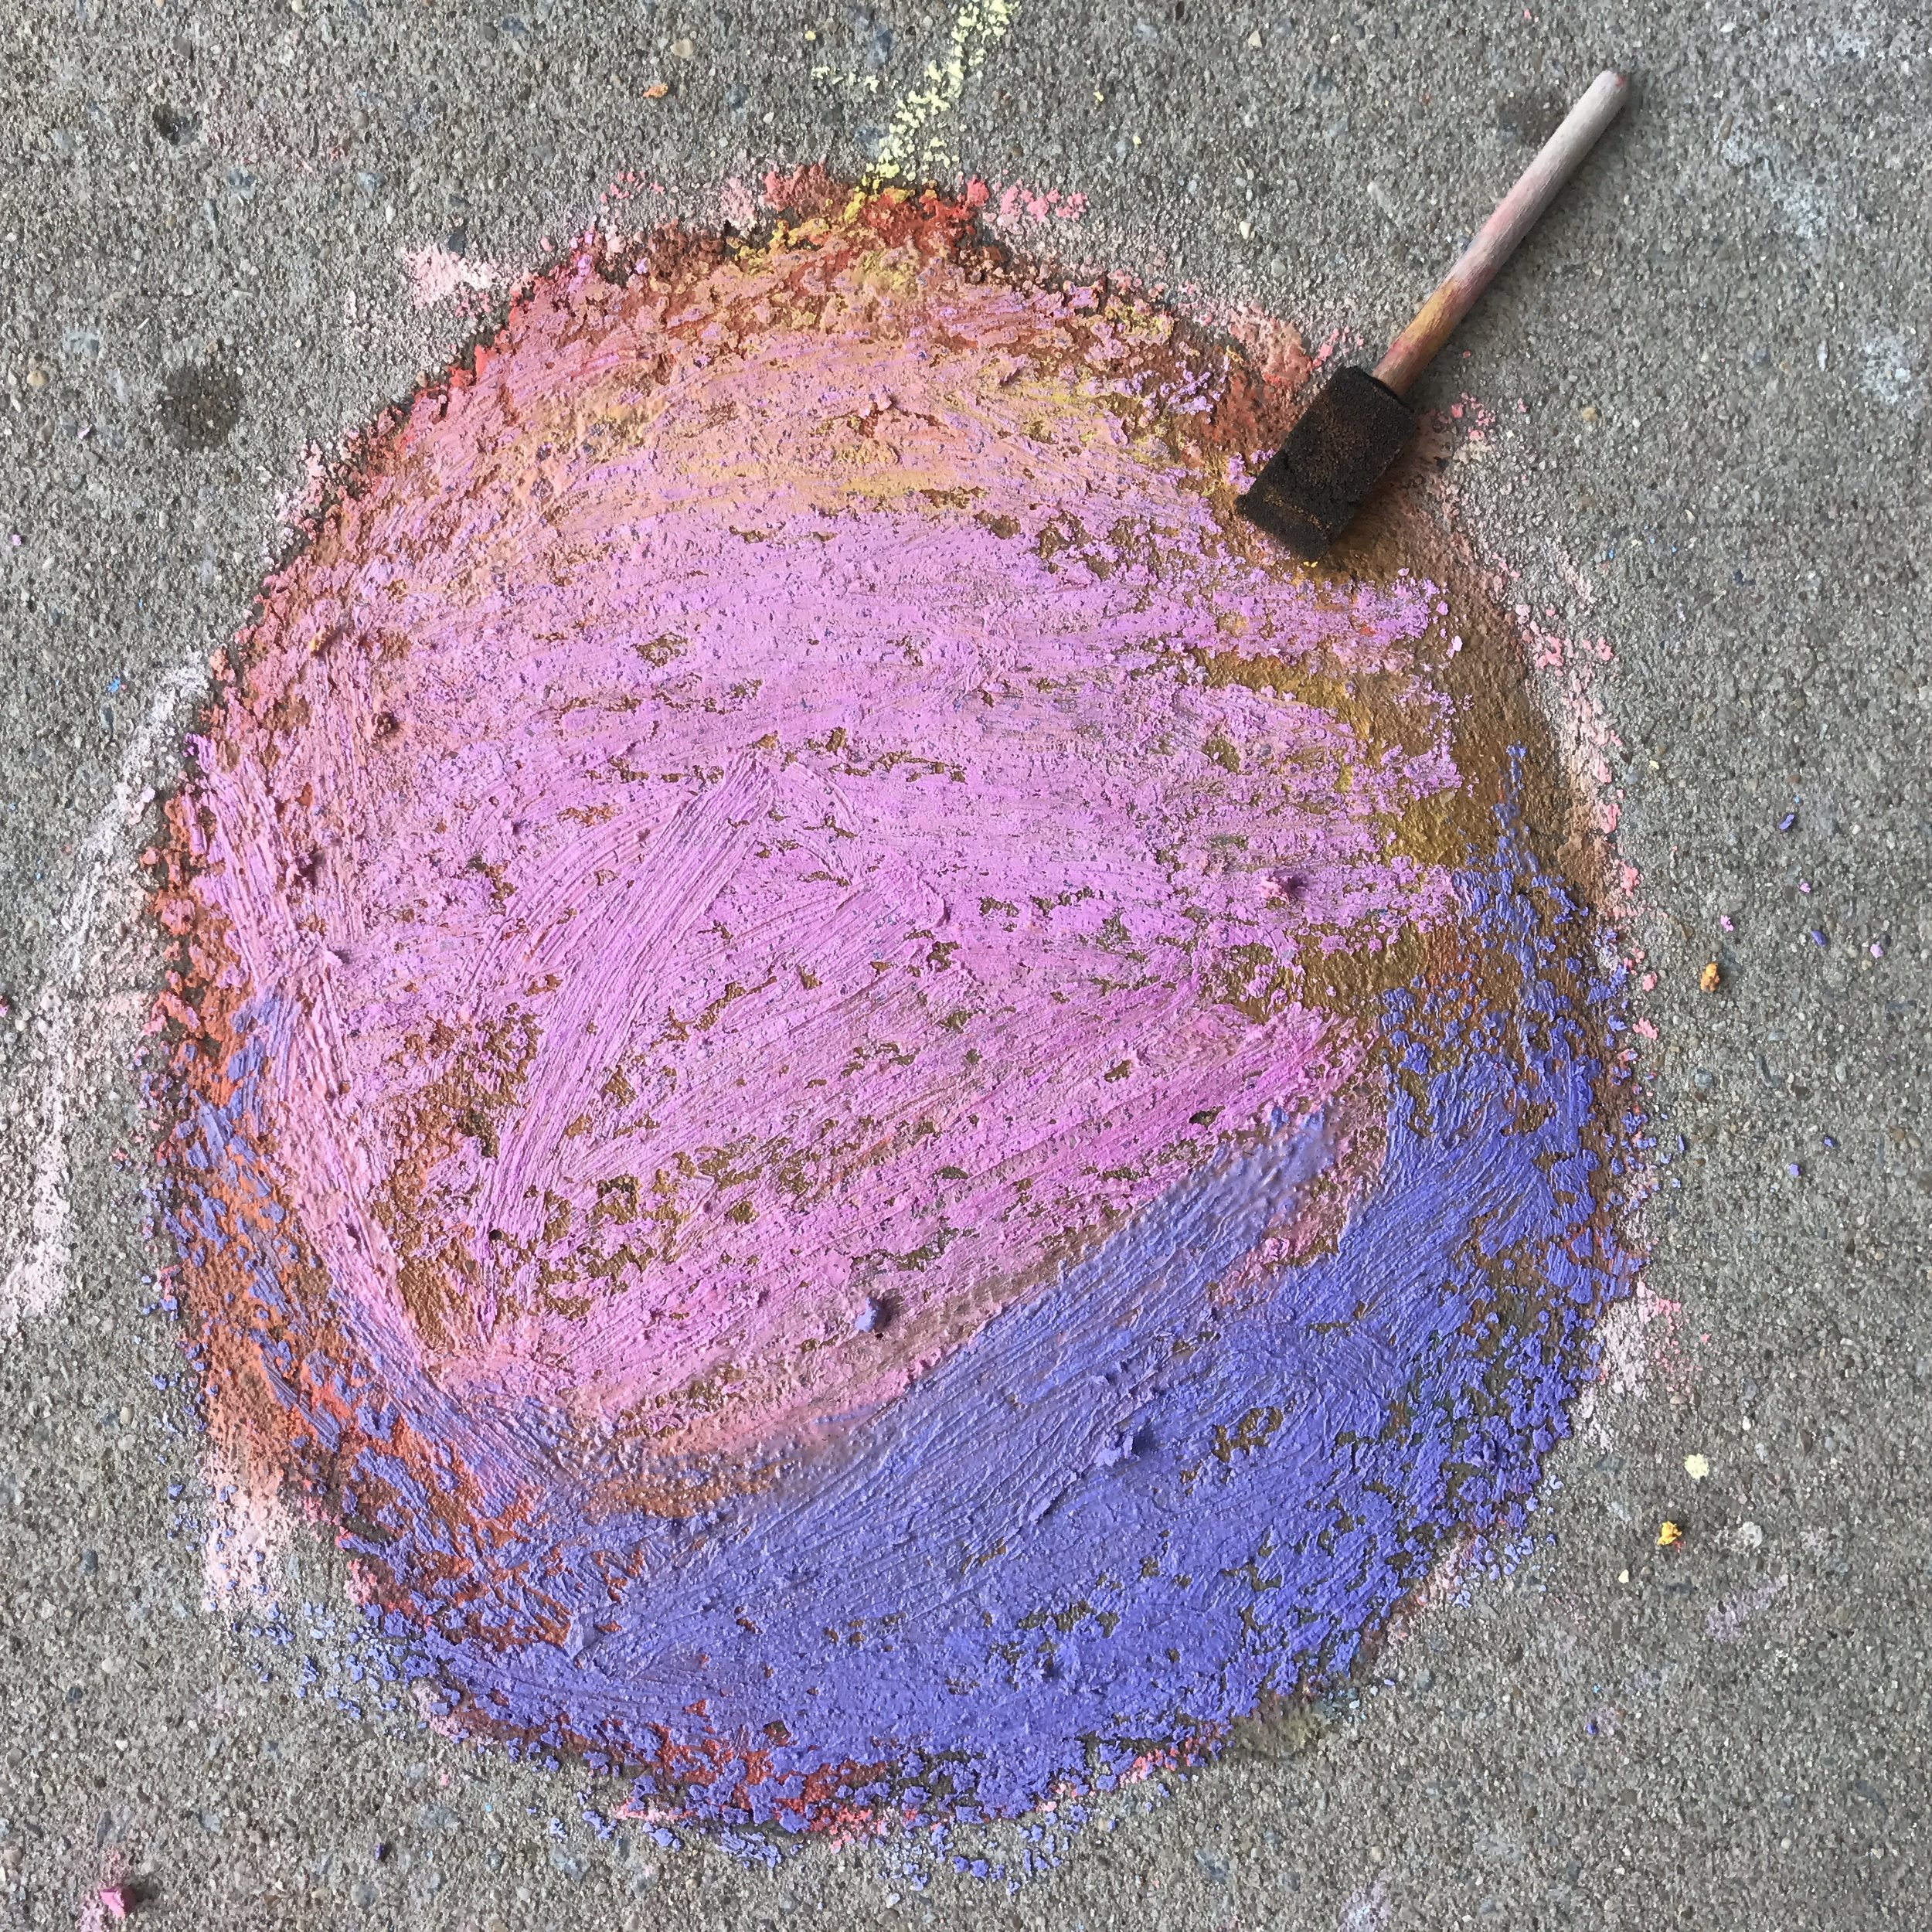
We took the wet chalk out onto the cement, grabbed sponge brushes and started playing around. VOILA. The results were amazing. (Enough so that I am making it part of Color Camp.) What I saw these kids do in minutes, I have seen Illustrators and Painters attempt to do over several days. What I mean are techniques of underpainting, layering and a blending technique called scumbling. (Here is a great tutorial of Monet’s process, including scumbling!)
Often times illustrators layer paint or pigment to build richness of color. The more layers, the richer and deeper the color becomes. Each new layer can require drytime so that colors don’t muddy.
In the case of wet chalk on hot pavement, we achieved several of these techniques in minutes. After dry time for the first layer (3-4 minutes), the kids could experiment in so many fun ways. We found:
Underpainting—The first layer of wet chalk went down thickly, vibrantly and did not fade for up to two hours.
Ombre—Brushing the first layer with just a wet sponge blended it beautifully.
Scumbling— Chalking color over top a dried layer, then blending it with a dry sponge or finger produced the scumbling technique.
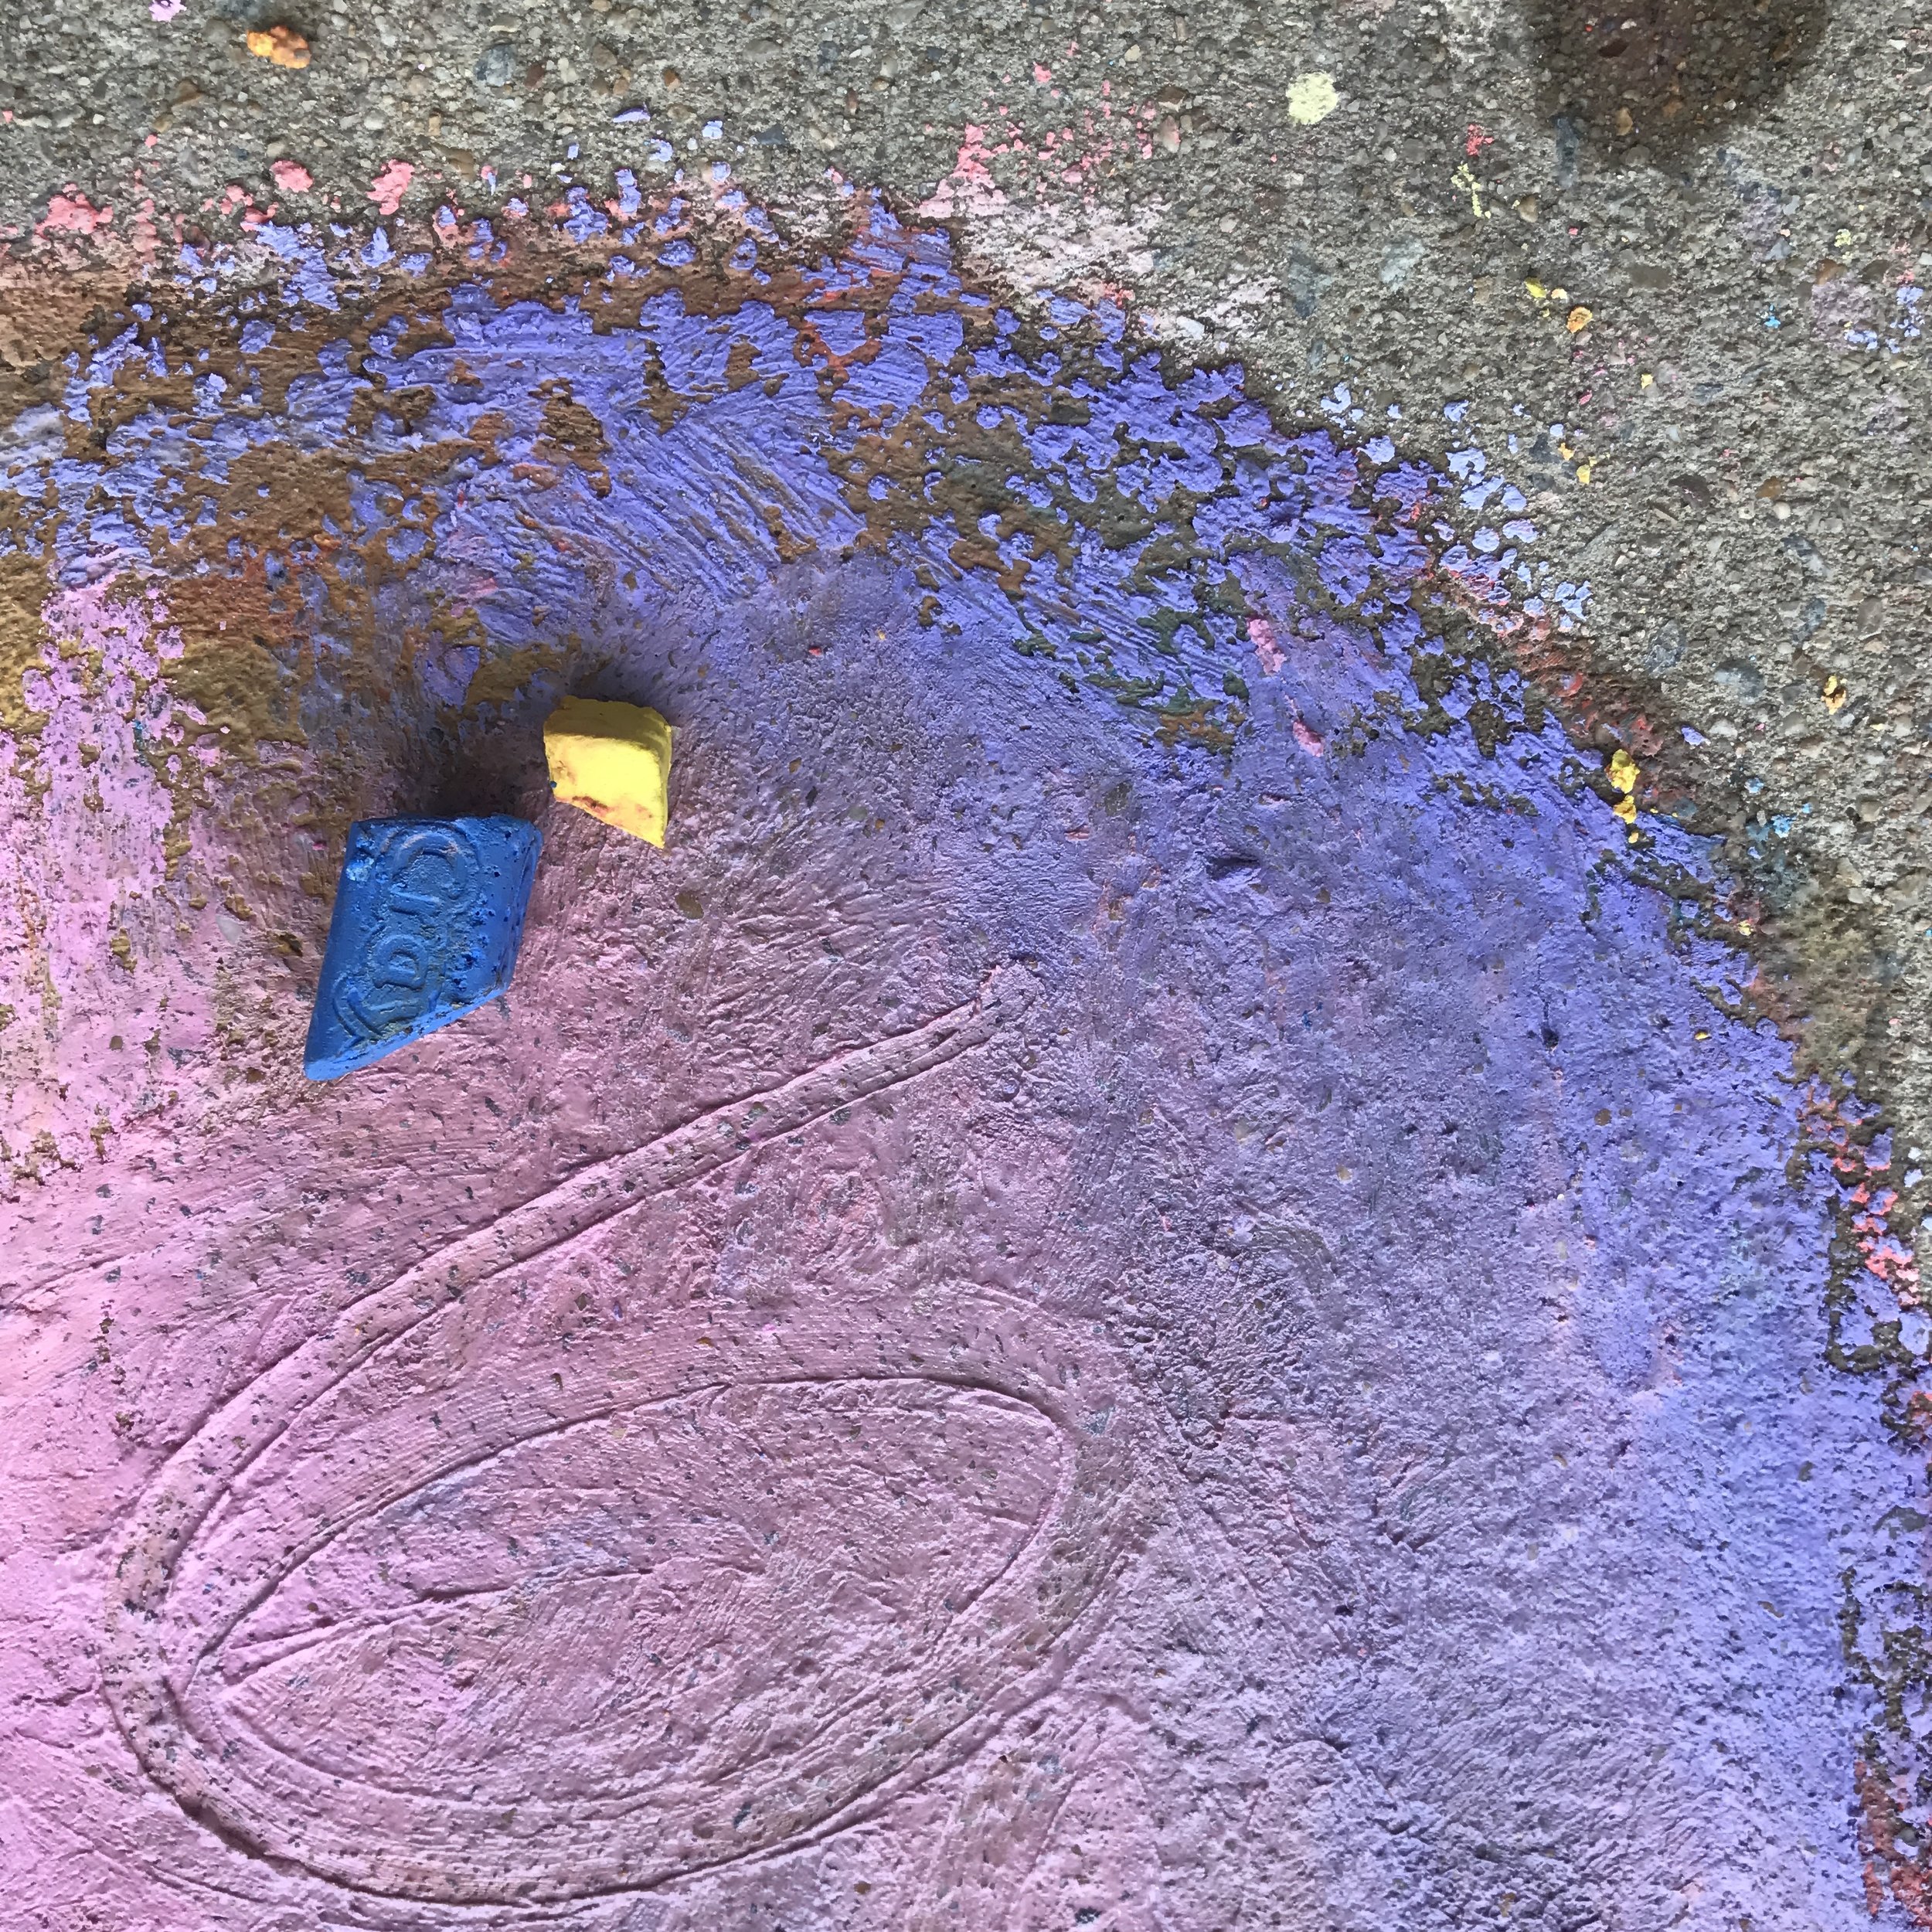
Etching— After building up layers, you could start etching patterns with your finger. In one instance, it was almost like icing a cake. Adding a little bit of water helped to keep it loose.
Voila, mind blown. I may never go back to regular chalk again.


Painter Inspiration Board
Here are some of my latest painter crushes, who each use beautiful layering techniques. Not only are these talented ladies trending all over Minted, West Elm and Anthropologie, they are moms of littles. Way to go, ladies!
clockwise: clare elsa esser / jess franks / emily jeffords / hayley mitchell


You can experiment with this chalk paint as long as you want. Adding water and brushes will keep this craft cool. When you’re done becoming master chalk illustrators, grab the spray hose and get soaked! Don’t worry, the chalk, no matter how thick, will definitely wash away.
Happy painting!
Check out the rest of Sidewalk Color Camp:
Geek Out on the Art of Lettering (1-2 hr)
Neon Box-Top Tree Line + Necklaces (2-3 hr)

